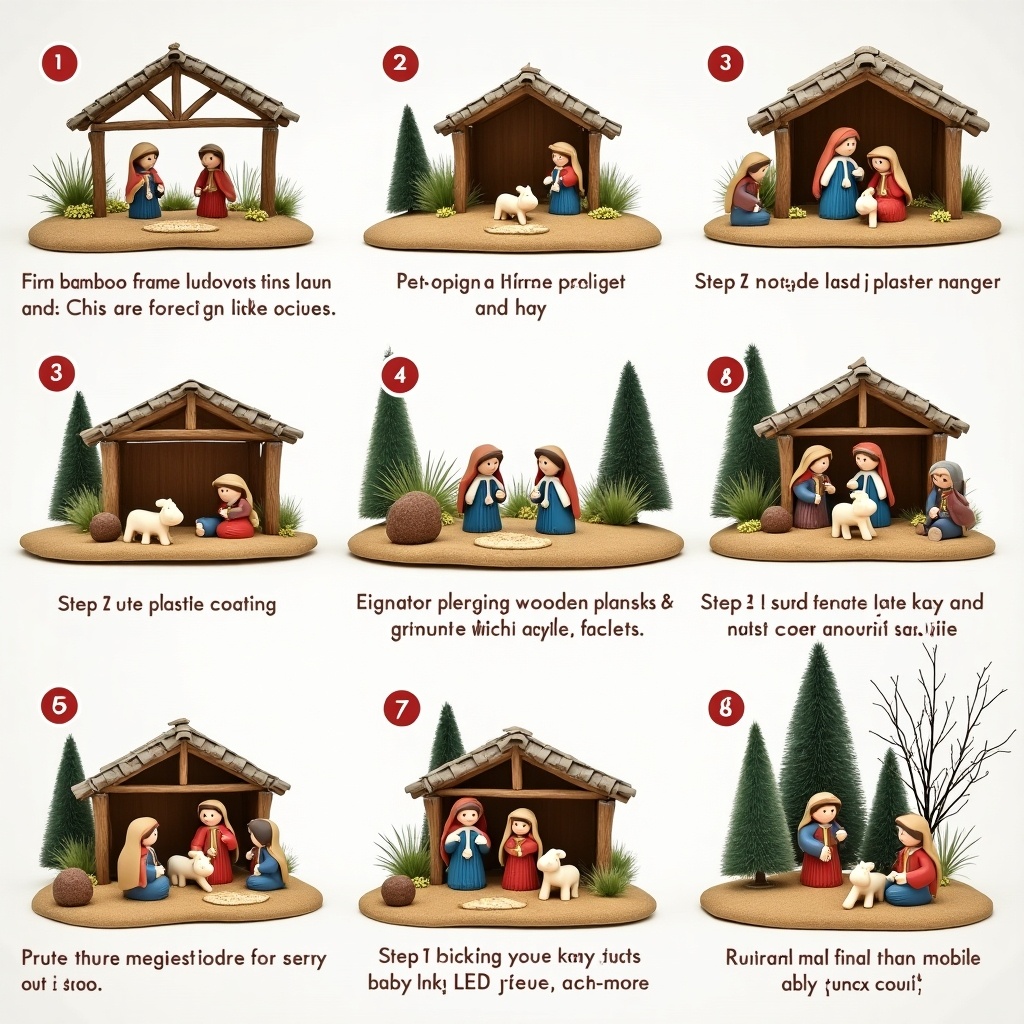
Step 1: Planning👨🏻✈️👩🏻✈️
Sketch a rough layout of the crib, including the stable, manger, and surrounding decorations.
Decide on the dimensions based on the space available (e.g., 4x4 feet).
Step 2: Frame Construction 🪟🖼️
Use bamboo sticks to build the stable frame:
Create a rectangular base with bamboo.
Add upright sticks for the walls and slanted sticks for the roof.
Tie the joints securely with glue or string for stability.
Step 3: Jute and POP Coating 🛍️
Cover the walls and roof with jute bags, attaching them tightly to the bamboo frame.
Mix Plaster of Paris (POP) with water to make a paste.
Apply the POP over the jute to give a textured, mud-like appearance.
Let it dry for at least 24 hours.
Step 4: Painting and Decorating🎨🖌️
Once the POP is dry, paint the structure using acrylic colors (brown and beige) to give it a rustic, natural look.
Use hay to cover the roof and scatter some inside the stable.
Step 5: Base Preparation
Place the crib on small wooden planks for elevation.
Spread sand and pebbles around the base to simulate a natural ground.
Cover any exposed areas with brown cloth or burlap for a neat finish.
Step 6: Lighting 🕯️🏮
Wrap LED string lights around the roof and place some inside the stable.
Create a large star using the lights and position it above the stable.
Step 7: Statue Placement ⛄
Arrange the statues of baby Jesus, Mary, Joseph, and others inside the stable.
Surround them with hay and pebbles for added authenticity.
Step 8: Final Touches 🤌🏼
Add small decorative elements like dry branches, coconut husks, or additional animals and trees if available.
Ensure the crib is stable and well-lit, Planning step to create a nativity crib including stable, manger and decorations with clear steps for building and decorating

